The {Best} of CraftOManiac in {2010}
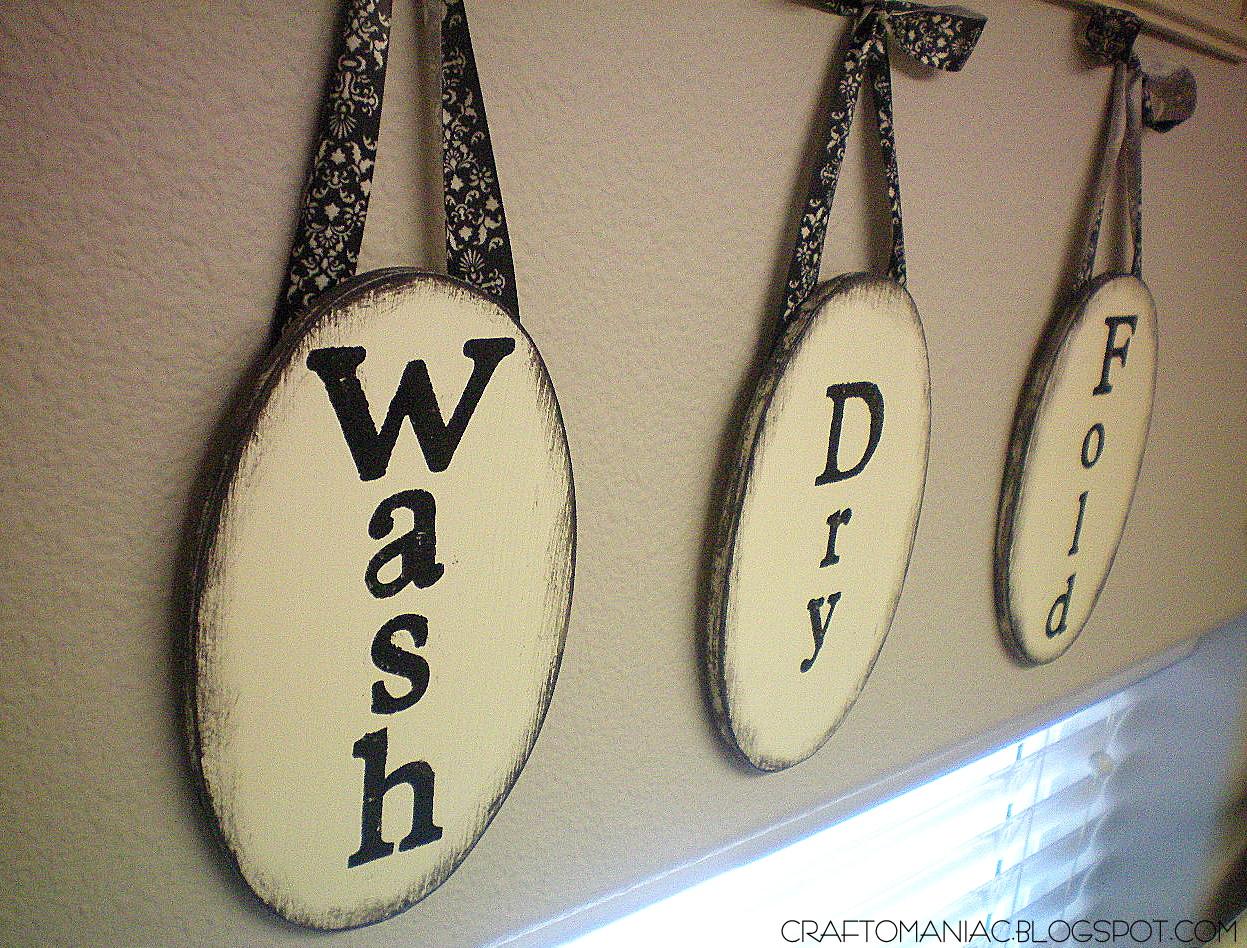
Laundry Room Signs.
Embelished Easter Egg Garland.

Picture Knob Plaques.

“Jennie & Kevin” Studded initial burlap plaques.

Modpodged Styrofoam napkin balls.

Vinyl for your toes.

Coffee Filter Patriotic Garland.

The BORED BOARD!

Trick or Treat Wreath. TAKING THE MOST COMMENTS AND THE MOST FEATURES, NEXT TO MY Picture Knob Plaques! LOVE TO SO MANY OF YOU!

Burlap Don’t Worry {Be} Happy Frame.

Turkey Paper Bag Puppets.

Dollar Tree Christmas Pails.

AND that is a wrap for this year… UNTO MORE CREATING, THINKING, CRAFTING, AND SHARING FOR 2011! HAPPY HOLIDAYS!
I am linking up WITH SomeDay Crafts for 2010 TOP TEN HERE.
Well I’m glad I found your blog through Show and Tell Friday. I love your projects and feel like I would and could tackle quite a few of them the oval signs, the burlap plaques, the modge podge balls! Thanks for inspiring me. I’ve followed your blog and look forward to more. Maybe you can stop by my blog for a visit and consider following me back!
Michelle
New England Style
such cute crafts! Love them!
Indeed. . love the bored board! I want one:)
carpet cleaning roseville ca
I want to find your instructions on how to do the candy wreath. Is it for decoration only, or for eating? I’d love to make a wreath of candy that I’d love to just throw away, but could repurpose it for decorations.
You have so many charming and lovely things going on here. I am going to “borrow” some of these ideas. I am your newest follower.
Blessings~
Gwenny
How in the world could you narrow all your craft maniacness down to 10! You had an amazing year of crafting and sharing. Thanks for all the inspiration! You are an amazing maniac!!!!!
I am amazed at your creativity and your excitement for what you do! Everything is beautiful and SOOO inspiring. Thank you for showing me my new favorite website@!
Wow – so inspiring! I love all your creativeness! Those burlap monograms are too cute
I love the napkin balls. I find decorative ones at the store and can’t get myself to buy them since they are always really expensive. I’m sure you can even do them holiday designs too….super cute!