Rustic Craft Room
My husband and I have been home-owner’s for 8 years and we haven’t sat down since! Both my husband and I have a great passion for home improvement. We love to dream something up and make it happen! But we are also frugal! So everything you see today and on our blog is done on a budget. We are hopeful that you can find some helpful tips on how to make changes in your own home. You can check out our blog here. I’m hoping to post about each room of our house over the next several weeks, so check back on our blog. Thank you, Jennie, for featuring our craft room!
So we have been dreaming of a craft room for ages now. OK, maybe not ages since we’ve only been homeowners for 8 years… but for long enough, anyway. Since we didn’t have any other big projects happening at the time, we started construction in the craft room in the miserable-middle of January. The room was all cement, cobwebs, and 2x4s when we (and when I say ‘we’, I mostly mean Jordan) started to work. And now, (sigh of satisfaction) our craft room is complete (and when I say ‘complete’, I mean there are still some minor things to wrap up).
So… what we did- in a nutshell:
came up with structural design, electrical, lighting, framing and insulating, drywalling (you know – tape, mud, sand, mud, sand, mud, sand, mud, sand), built-in cabinet, doors, trim, paint, flooring, countertop, more painting, and finally, organizing our crafting stuff.
And we LOVE it! Although, to be honest, all we’ve done in there for crafts since its completion is playing with legos and the kids have made some cards down there. As soon as the weather gets pleasant around here, we’re outside. Also, soon after its structural completion, we had an emergency bathroom makeover to tend to which took priority over the craft room’s finishing touches.
So do you want a tour?! Of course you do 😉 More than likely you haven’t read anything of what I’ve just written. Like I normally do, you are probably just scrolling through the words to get to the pictures. So here we go!
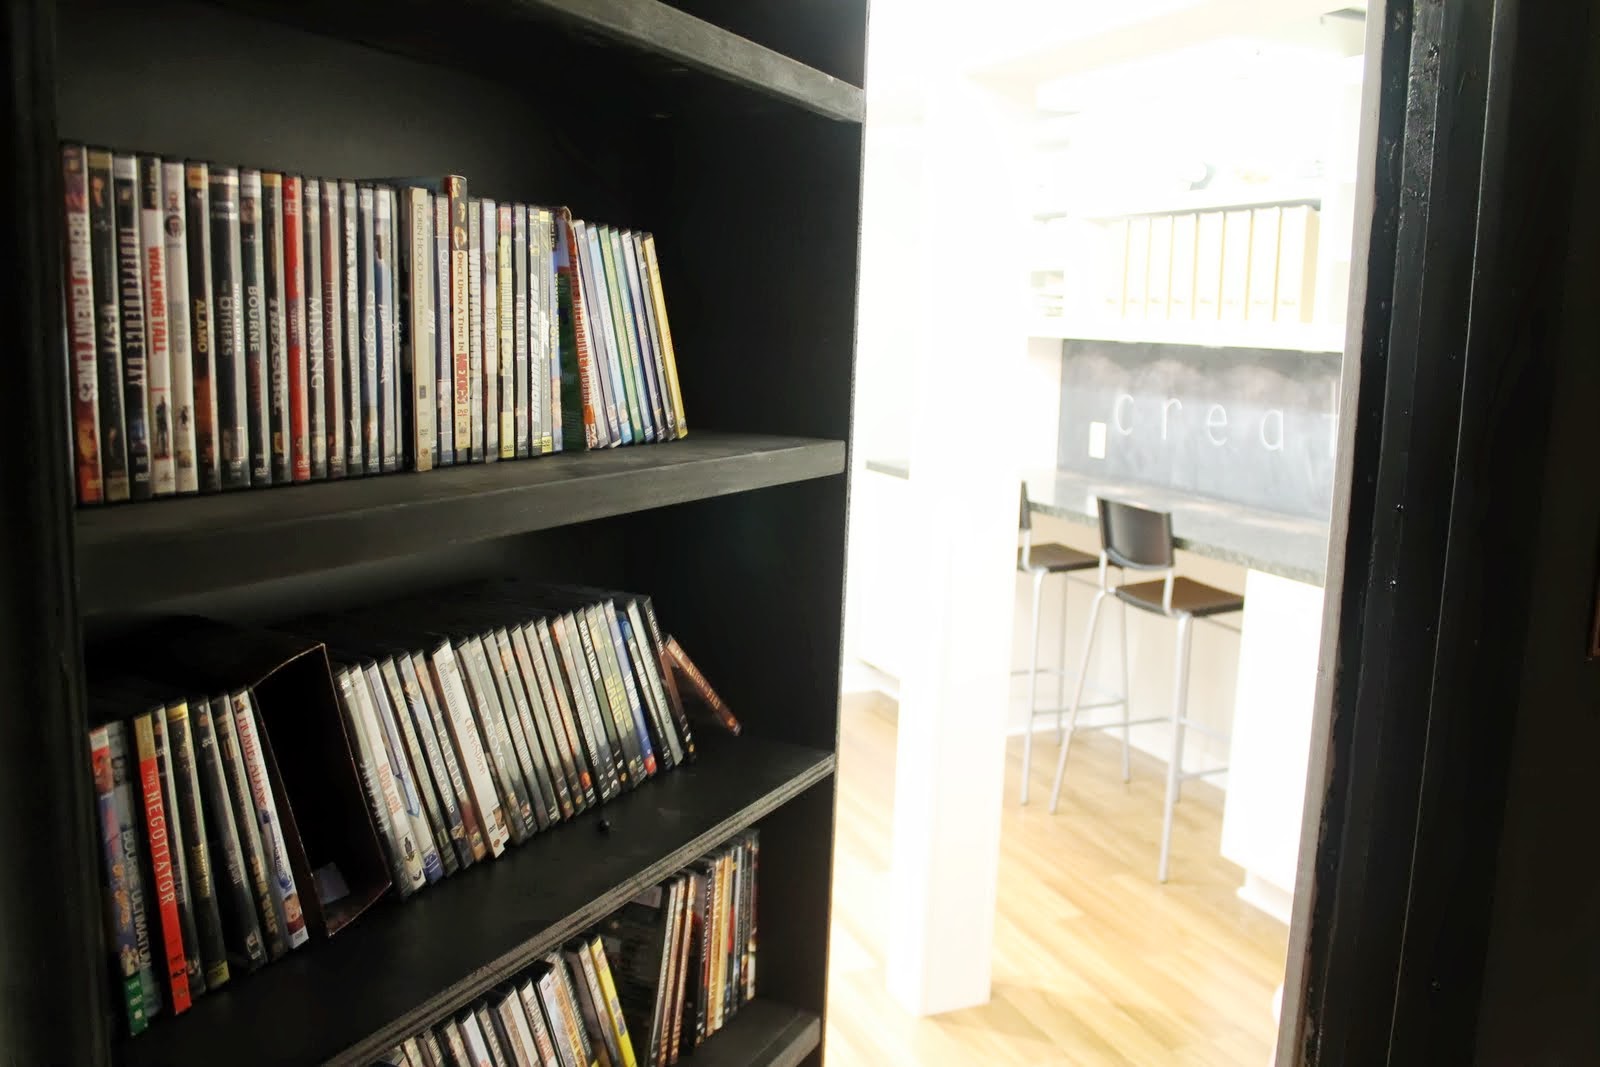
We enter through a ‘hidden doorway’. The door to the craft room is disguised as a bookcase! Yeah, my husband is amazing, I know!! So from the basement family room to the craft room:

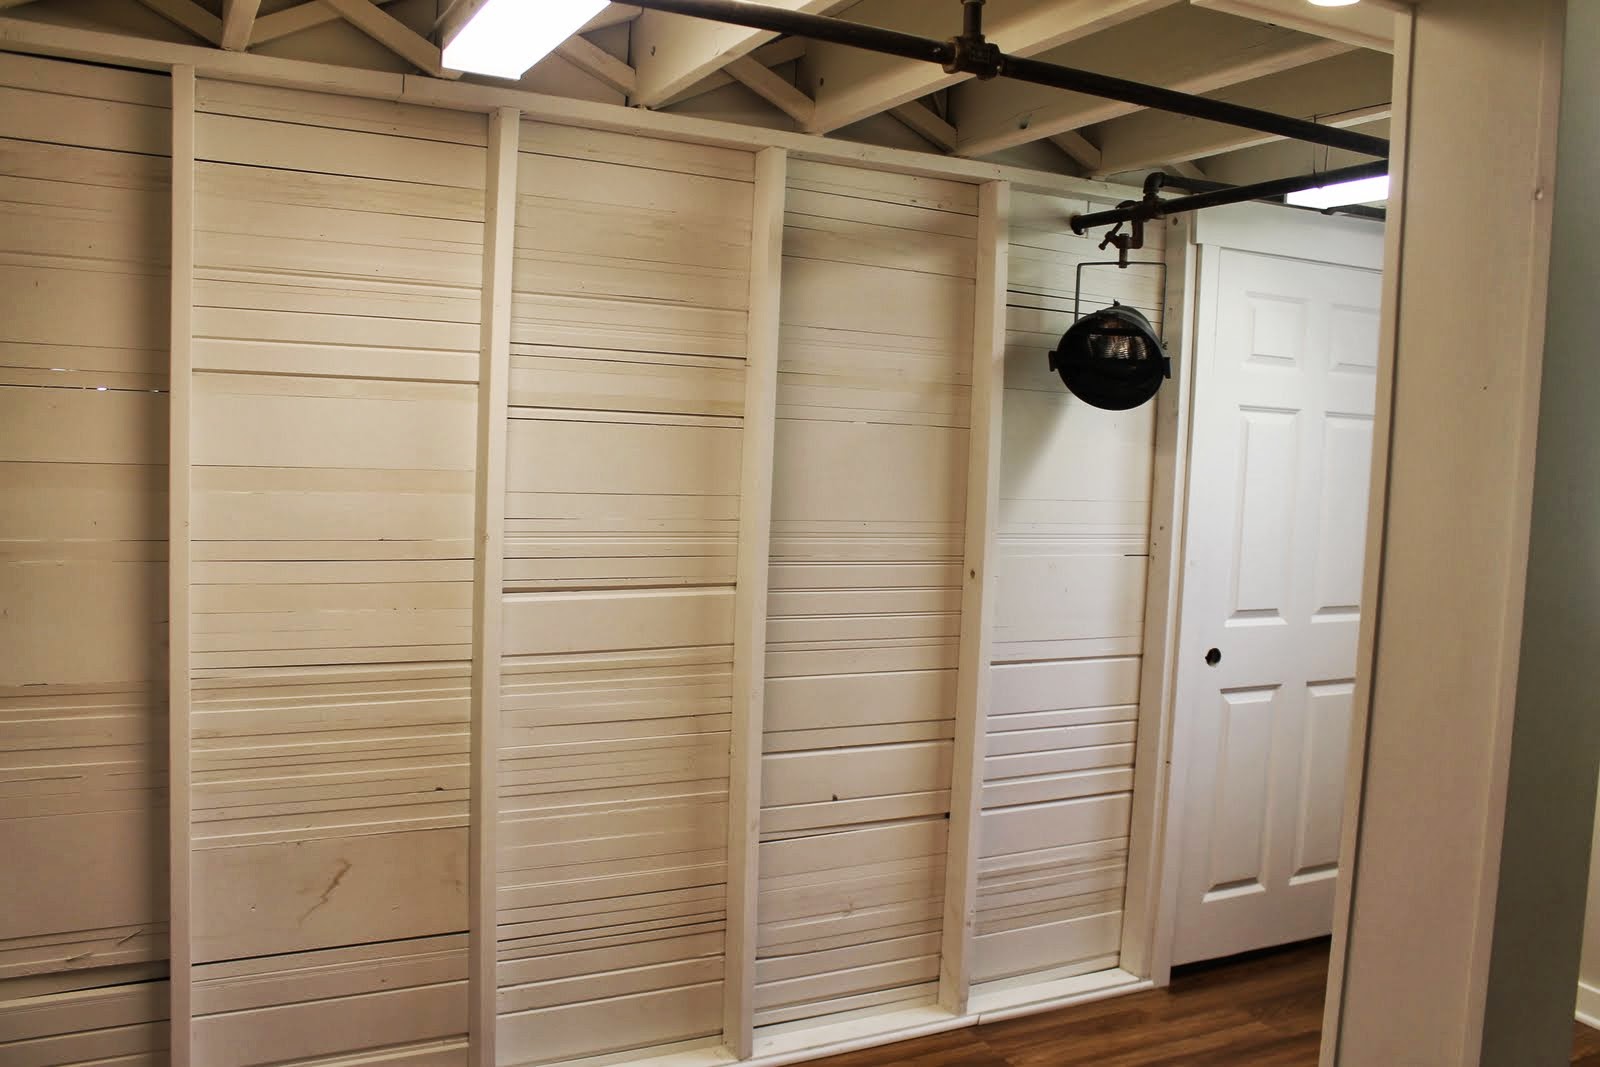
To the left is my favorite wall in the whole house. Do you have a favorite wall in your house? Or is it just me? I have other walls that come close to being my favorite. But this one is tops in our home. And it’s really simple. What you see here are the studs in front of the wall. And the wall is scrap wood that we used up behind the studs. Simple but, I think, beautiful!
 |
| remember how I said it’s ‘completely’ done… well, we still need doorknobs! |
This is just a favorite spotlight found at a flea market that, for some reason, we just had to have!
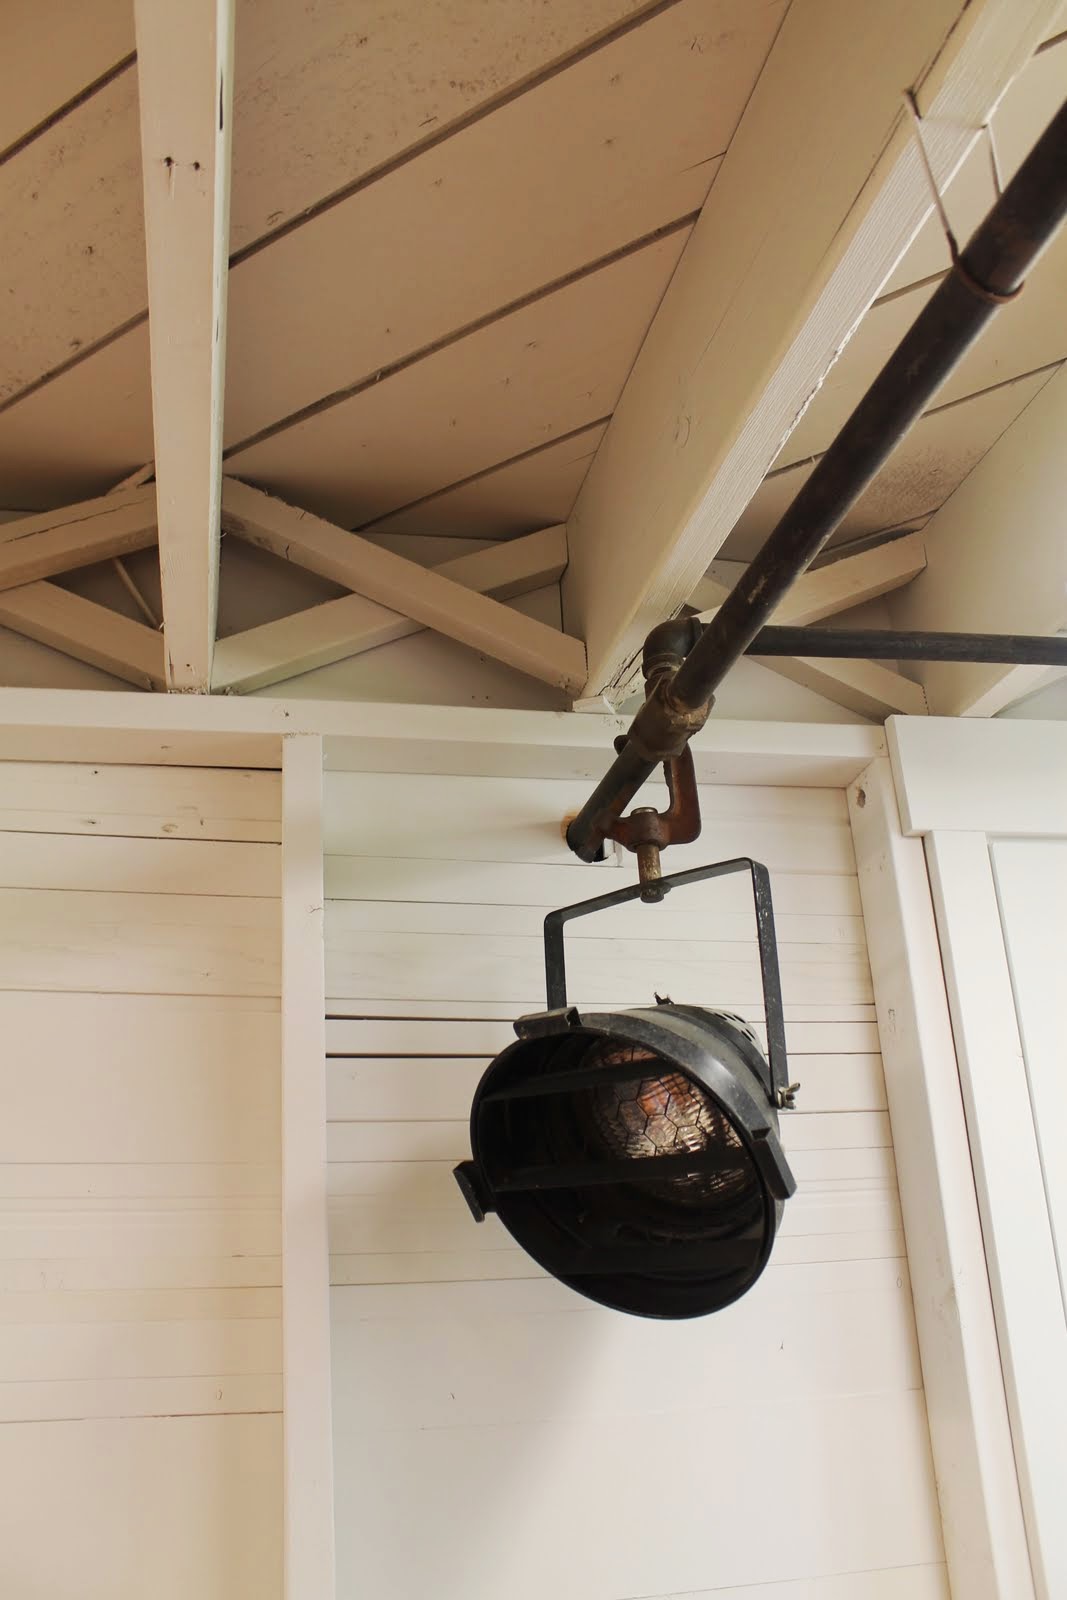
Since our basement has low ceilings, we decided to just paint them how they are instead of covering up the beams and pipes and losing height. This is the best thing to do about low basement ceilings. I love the look of it, it’s cheaper and simpler and taller.
 |
| I love lines! To me, this look is perfection! |

This column disguises a steel support rod that couldn’t be moved. But Jordan made it more attractive and also ran electrical on it so our main crafting table can have easy access to power.
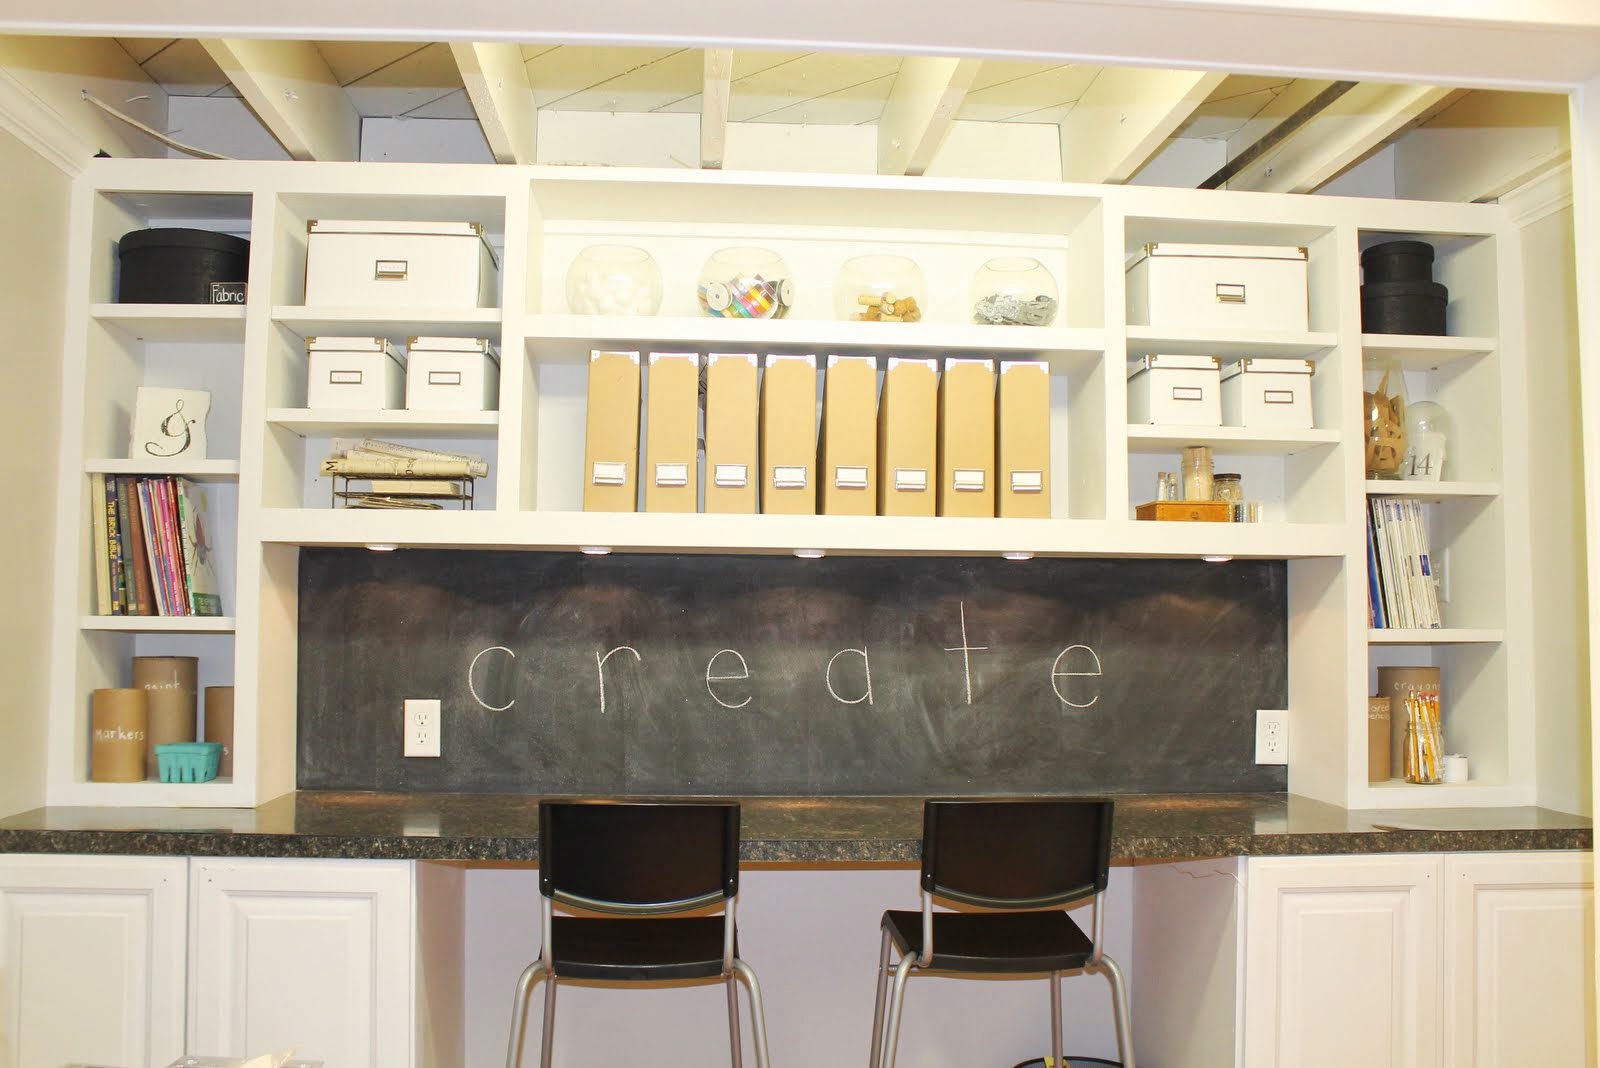
This is what we came up with for the built-in cabinet. I wanted equal amounts of open, showcasing shelves but also some cupboards with doors and drawers to conceal supplies.
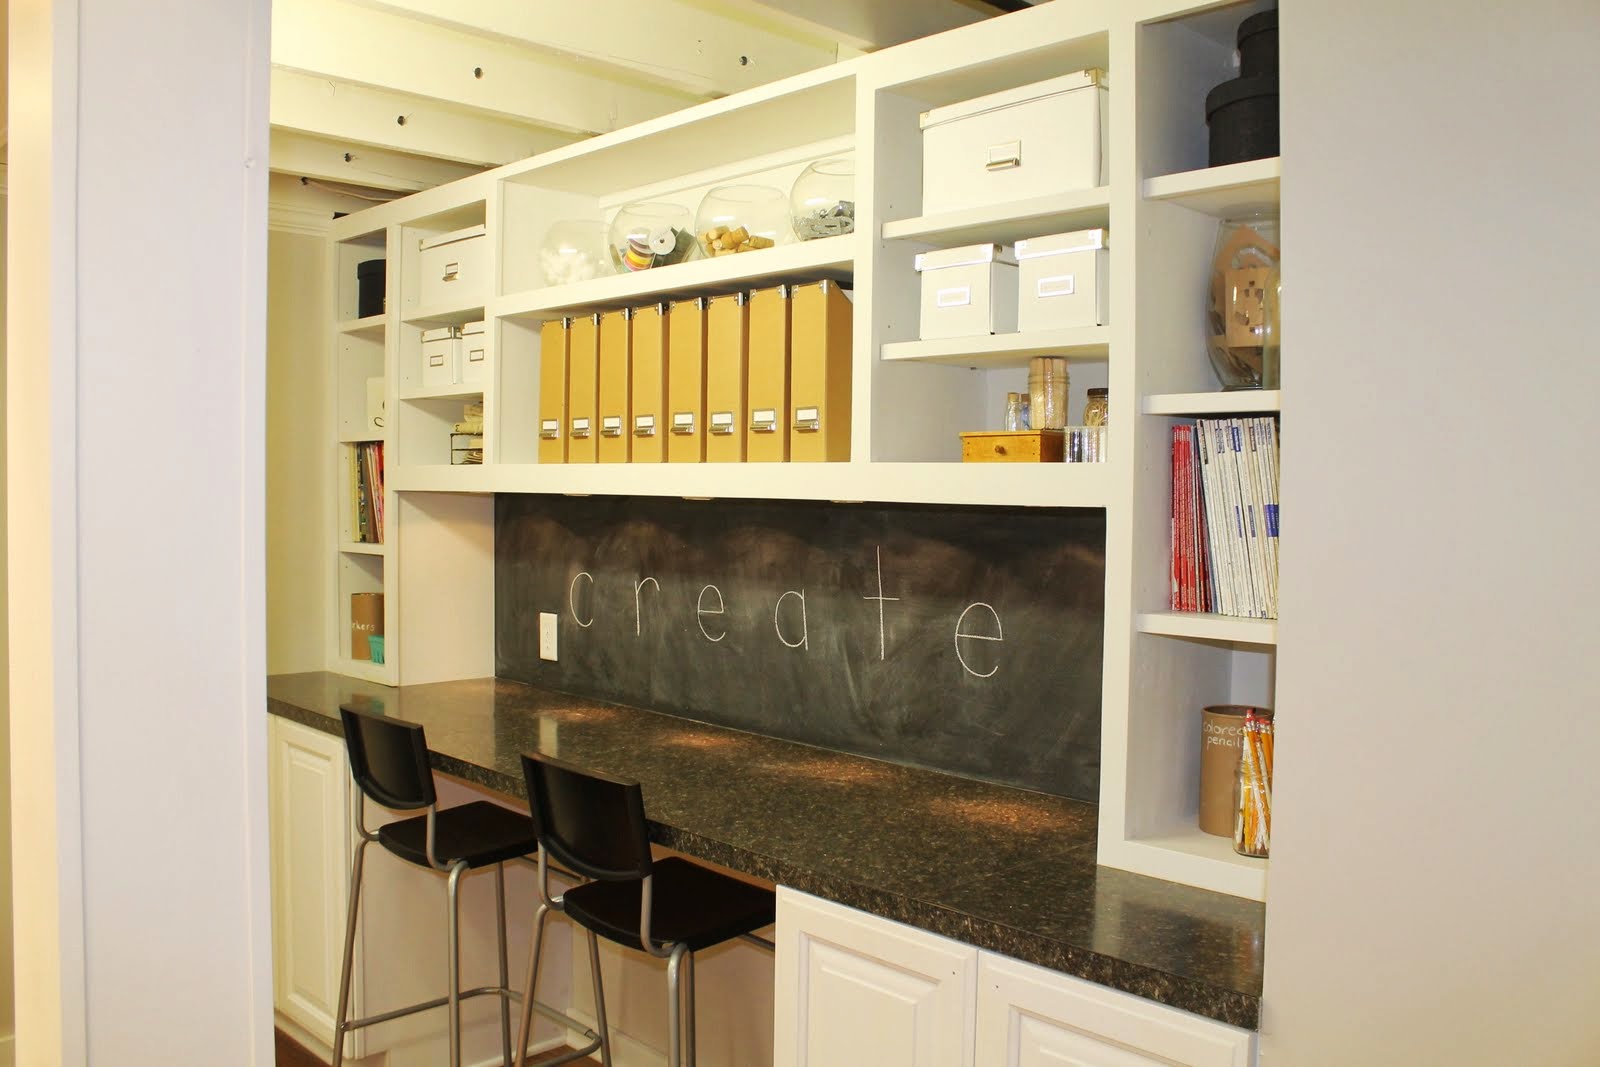
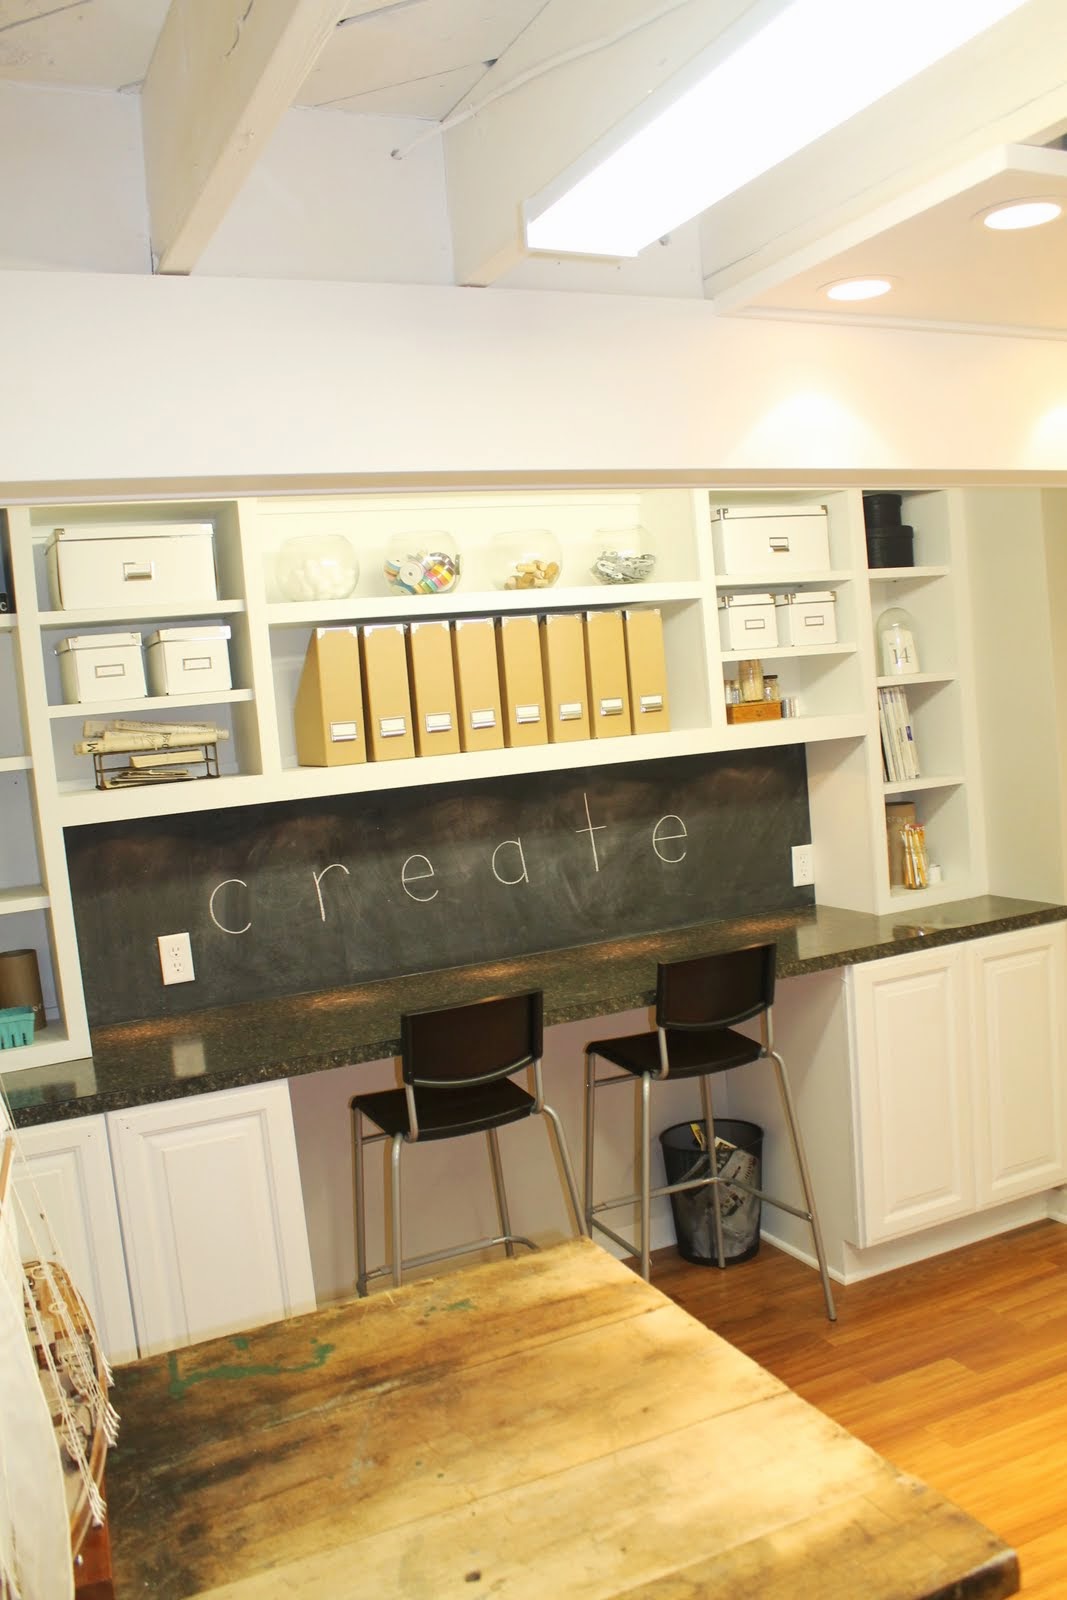

Our backsplash is simple: can’t go wrong with chalkboard. And we knew we wanted some direct lighting over our craft table and onto the countertop.

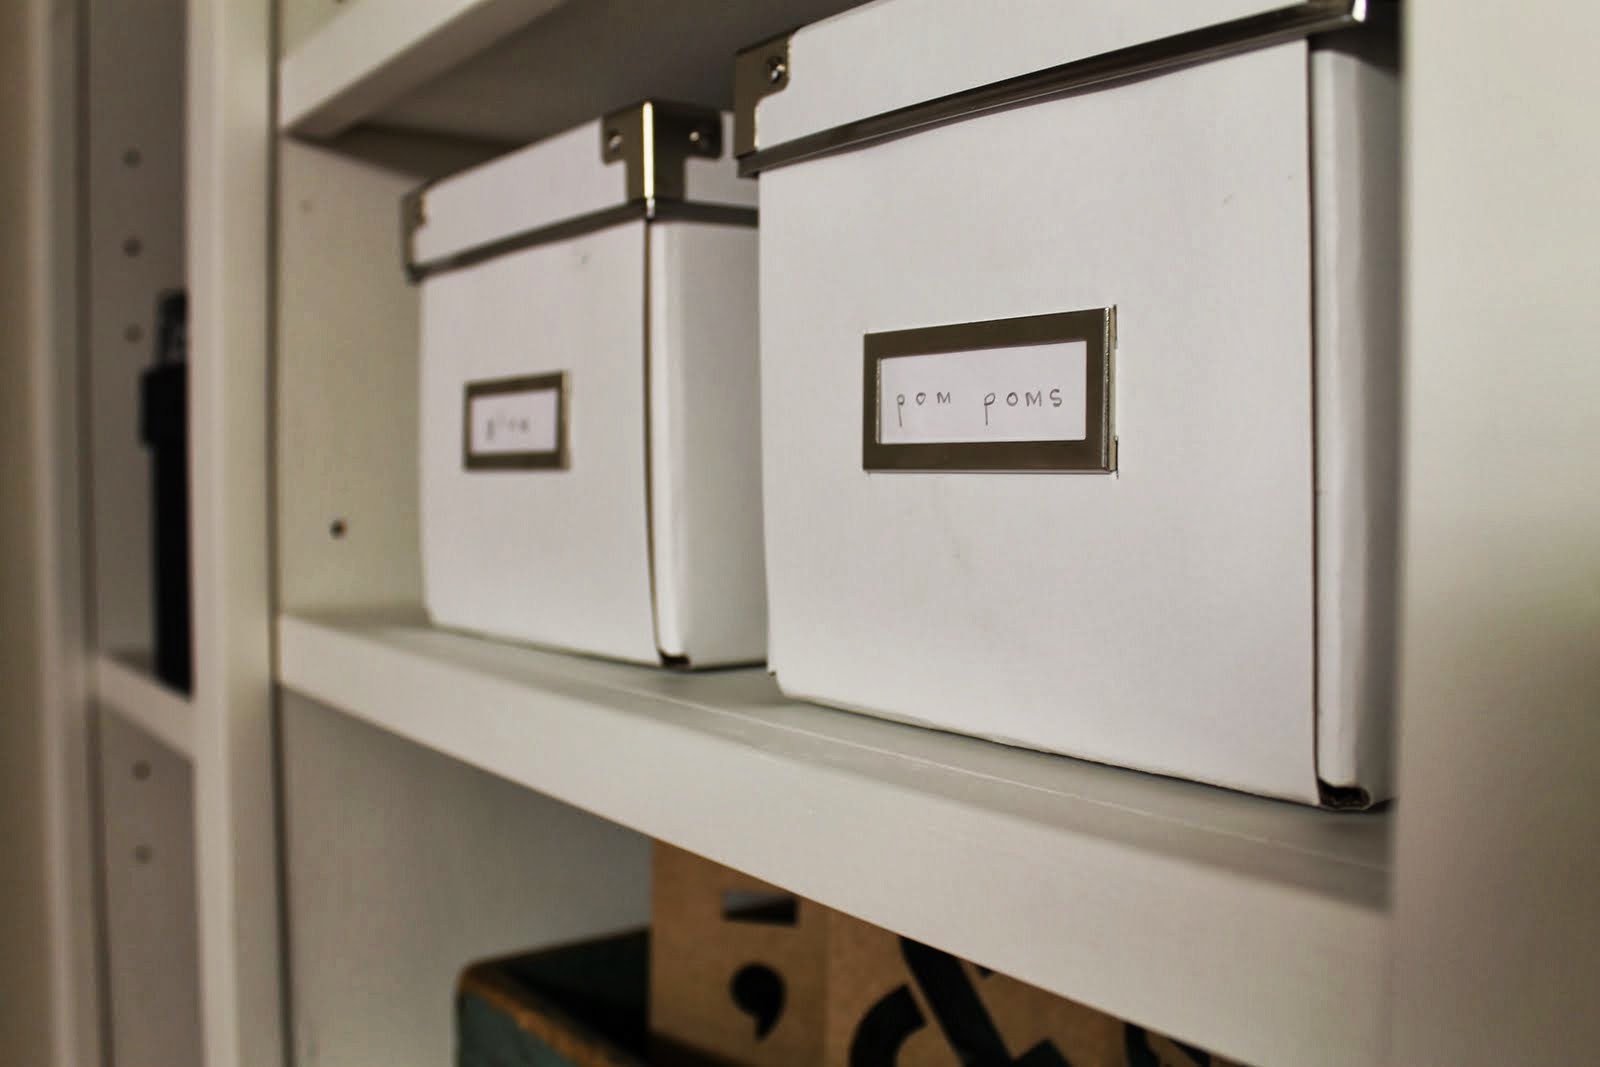
Most of the storage boxes in here are from Ikea. So far, I love them 🙂


There was a perfect niche in the room for a closet. There’s nothing special about it. Eventually there will be a closet organizing system but for now we store ‘untouchables’ in there like some bigger prints we have and a model that Jordan is anxiously awaiting working on. The other doorway into this room is an extension of our unfinished basement, which is where Jordan does his extra carpentry work
And this is our crafting table. We plan to extend the sides of it with some barn wood we have on hand, to make it longer. We’ll also add some locking castors. This table came from my deceased grandpa’s barn. I wonder what the story is behind it…. We were happy to rescue it 🙂

I think that is all. Everything you’re looking at was done on a budget. Most definitely, we were able to keep the cost of it under $1000. Granted, our carpenter worked for free and we were also blessed with a gift of $500 from Grandpa to ‘have fun with’. So out of pocket for us, we definitely spent less than $500. Mission accomplished! Now I am feeling the anticipation growing for a snow-day where we’ll all be stuck inside, forced to drink hot-cocoa and craft!
