DIY~ Styrofoam Glittered Christmas Trees
Hi guys I am excited to share with you this super fun
post on how I created my
DIY- Styrofoam Glittered Christmas Trees from blocks of Styrofoam.
This project was pretty darn easy, and it didn’t take a whole lot of time. The only thing is the “Glitter” Yes’ glitter goes everywhere, so perhaps create these on your back patio, patio table, or in your garage etc.
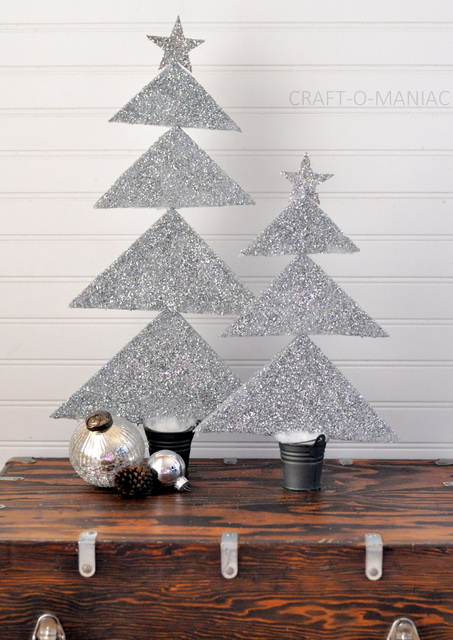
Here are the finished
DIY- Styrofoam Glittered Christmas Trees.

Now let me walk you through a simple tutorial..

First I started with some flat approx. 1 inch thick Styrofoam. I then took a ruler and a dry erase marker and marked off my pieces. Then I took a steak knife and cut them out/off. It was very easy.
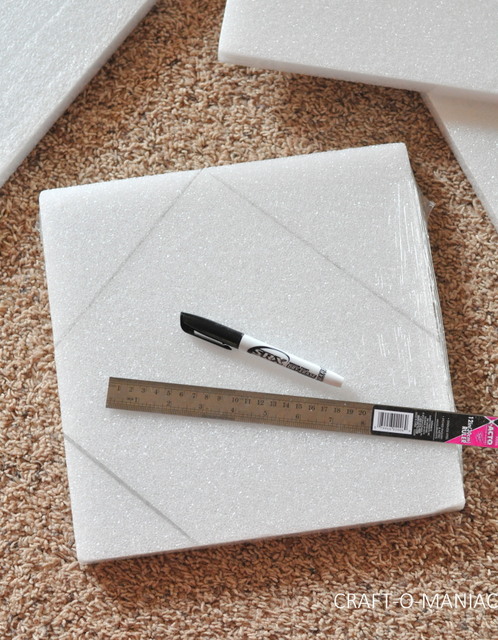
When they are all cut out it should look like the below image. I made one smaller stacked tree and one larger one.

I then painted all the pieces with some silver glitter acrylic paint. I then took some chunky glitter and covered the sides and the top fronts with the glitter.

Next, I cut off a chunk of Styrofoam and wedged it down into some cute metal pails.

To finish up you are going to take some skinny kabob skewers and push them through the center of your Styrofoam stacked tree pieces. You can break off an extra piece or two if they aren’t long enough and use them for the top etc. Once they are done, I stuck the exposed kabob skewer into the Styrofoam in the pail and added some cotton badding to cover the foam. Last I cut out some stars from my Cricut, added some glue and glittered and hot glued toothpicks to the back and stabbed them into the tops of the trees.


Believe it or not, I have not decorated my hutch this season. I have left it clean and plain, so the trees were the perfect touch.
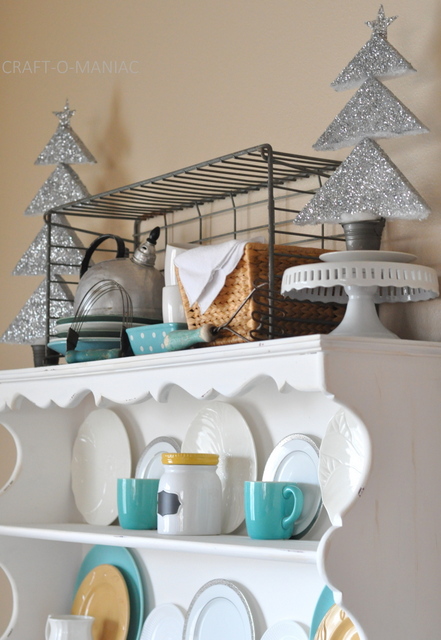


I sure love how they turned out and I love the size of them too. Hey do you want to see more fun Styrofoam Crafts head here
Thank you all for stopping by today. Have a great one.
Jen
These are so cool and sparkly! I just love this idea. Sharing! Thank you!
These are so clever! Love the blingy-ness! Stopping by from Hoyby Crafts
So cute and festive!
x
These are so fun. I’m all crafted out for this year but definitely next year