DIY Christmas Tree Cones
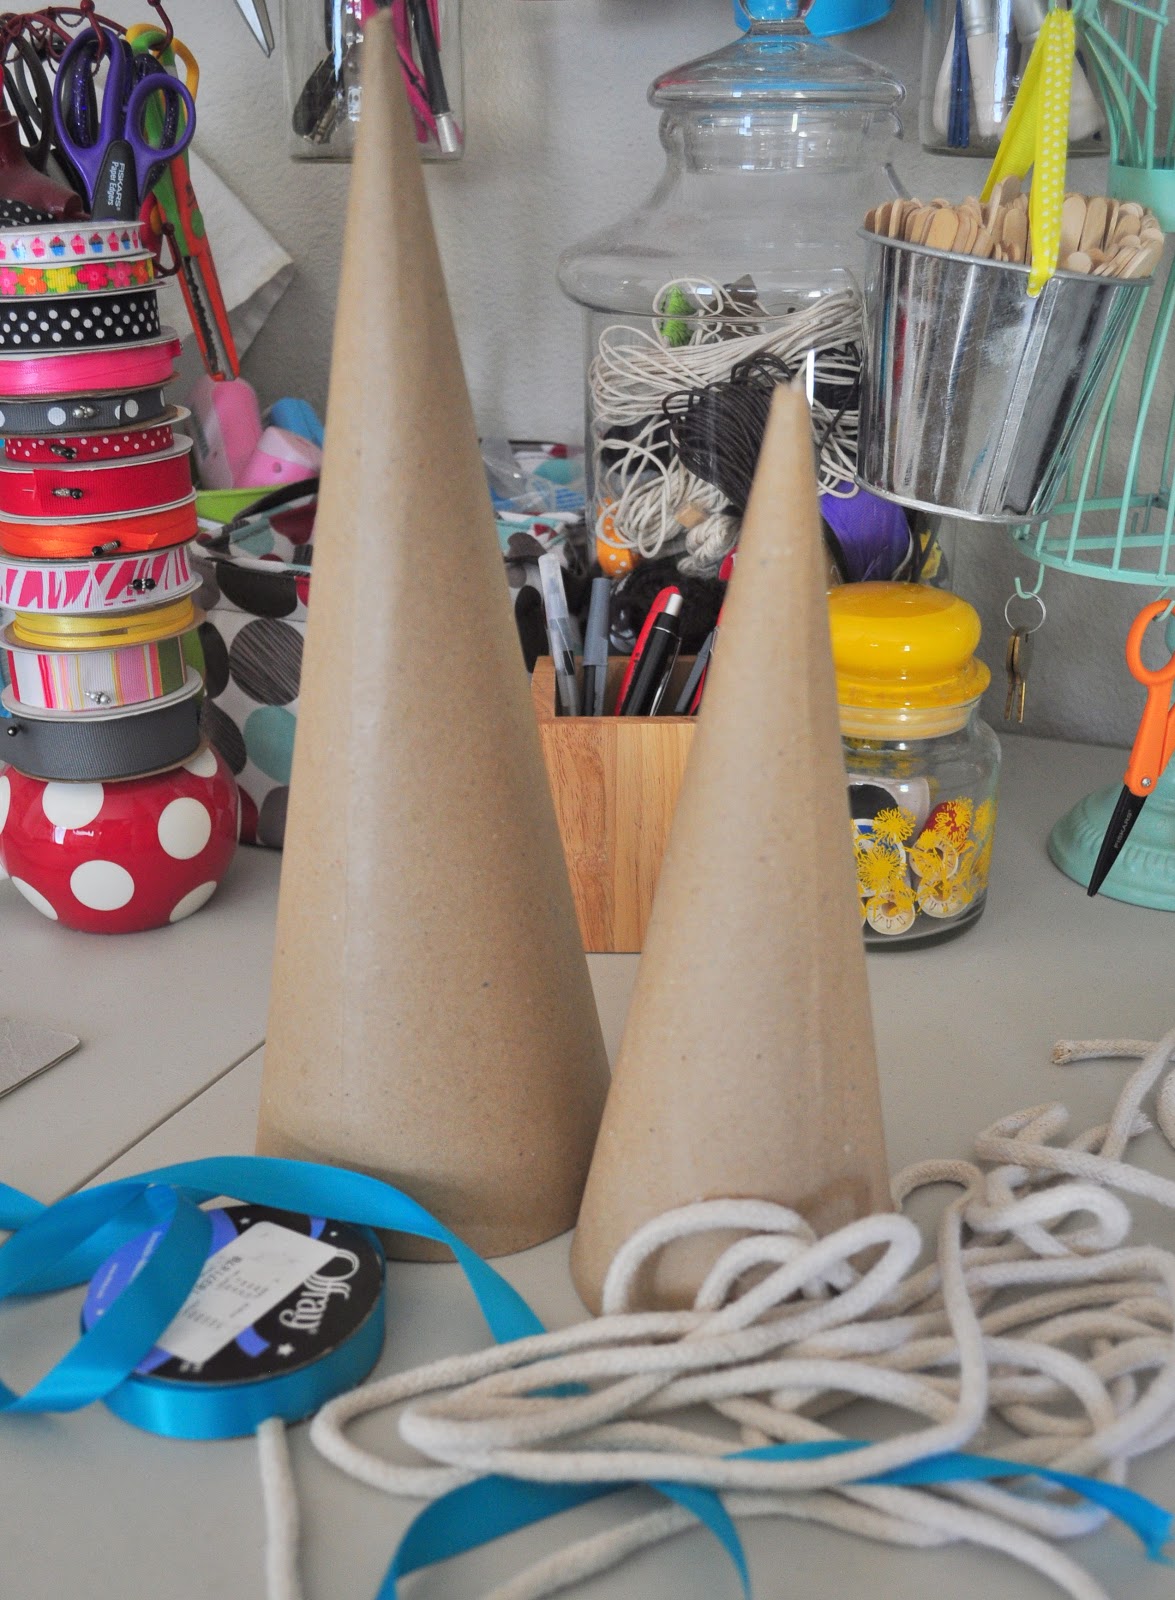
Today I am sharing with you all how I embellished two brown paper cones I picked up from JoAnn’s. I also made one out of damask paper.

HOW TO:
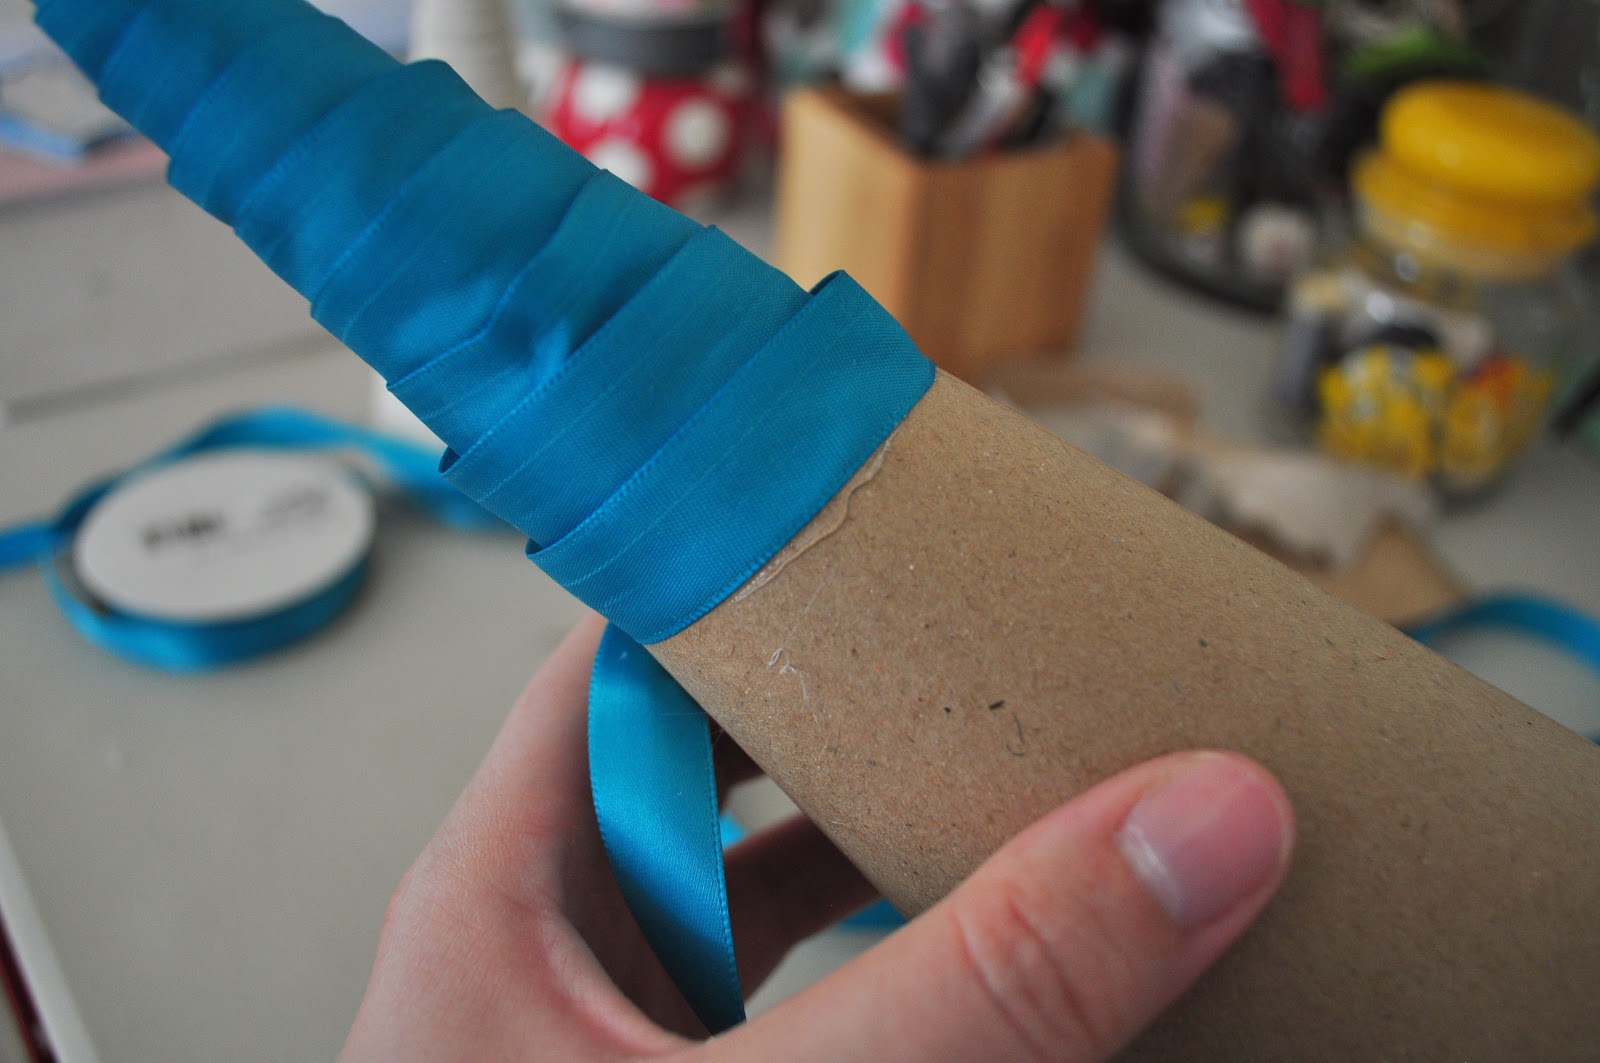
For the large brown cone I hot glued satin ribbon flipped over to expose the dull side. I simply added my hot glue and wrapped the ribbon all the way around until it was finished.
For the smaller brown cone I wrapped it in some Canvas Corp. rope. again by hot gluing the rope all the way down until it was finished.
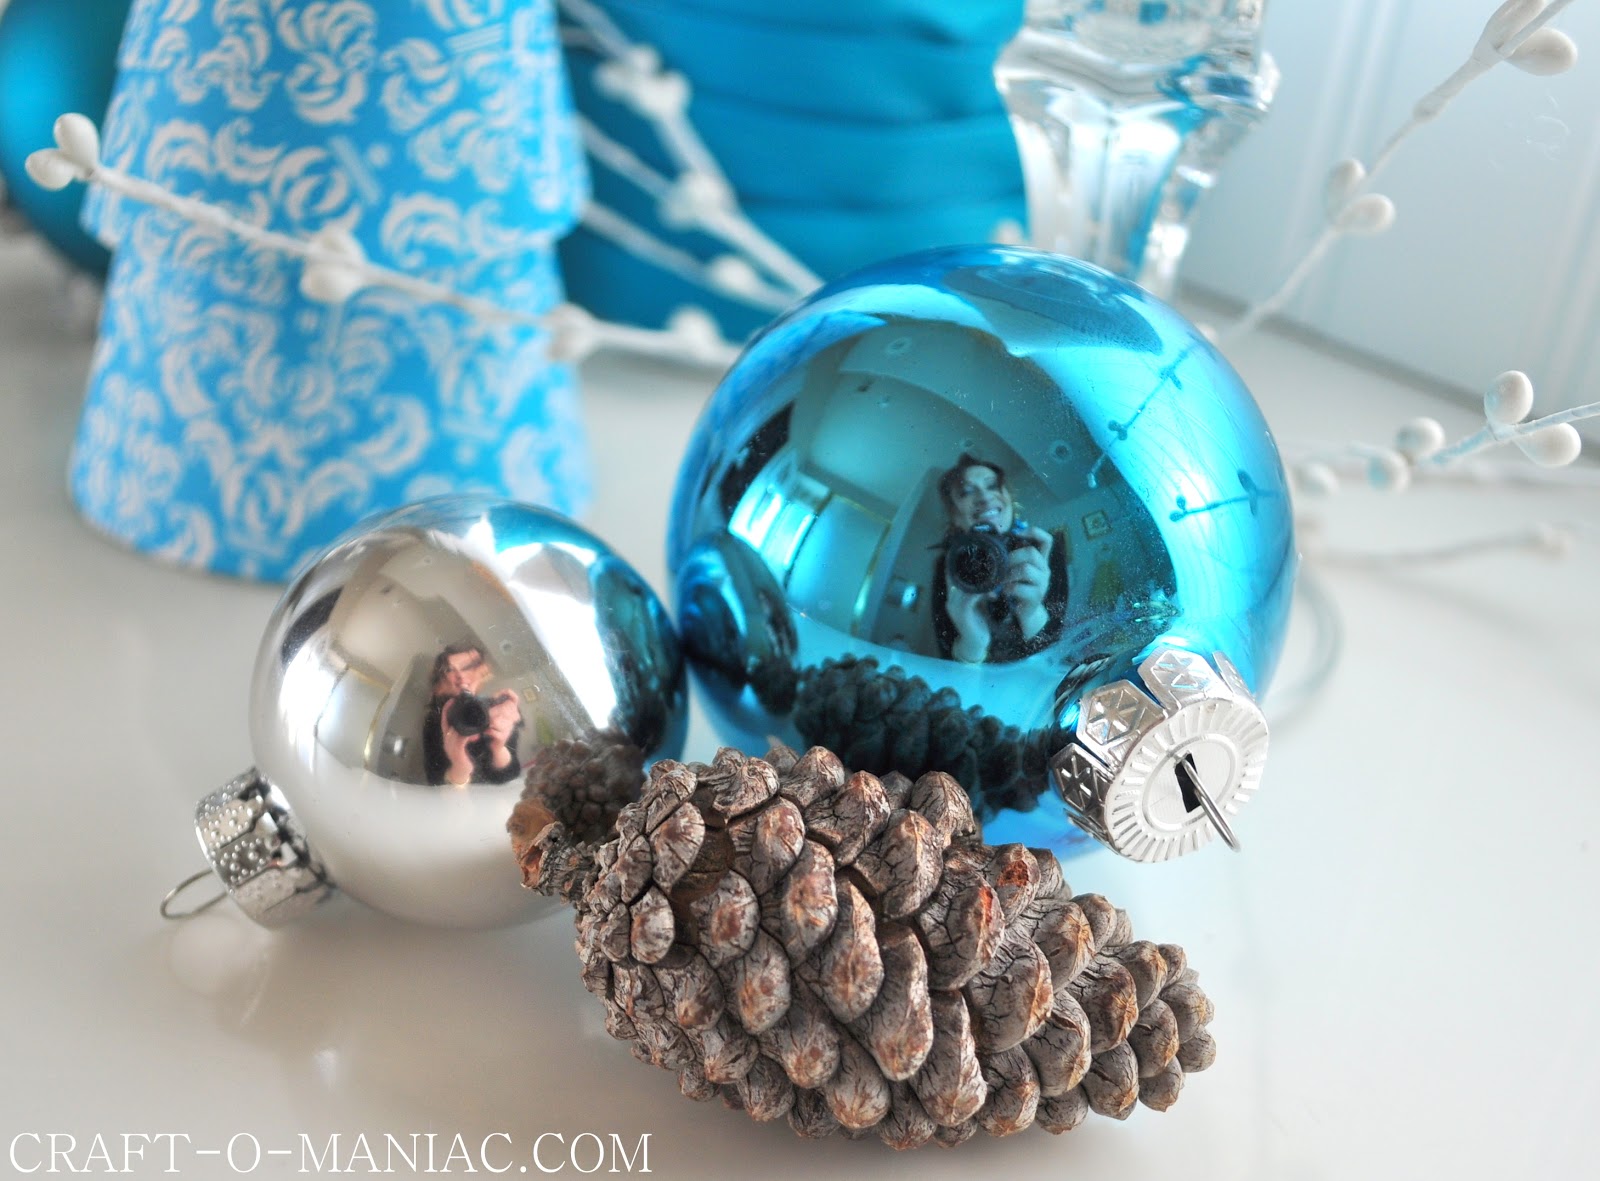
The “paper” cone tree, I traced a dinner plate for the bottom of the cone tree, a salad plate, for the second layer of the cone tree, and a dessert plate for the top of the cone tree. You trace the three circles using the three different plates. Cut out the circles and then find your center, draw a circle/dot and then draw a line from the middle center down to the edge of the circle, do this twice creating a 4 inch gap, it should look like a triangle. Cut out that triangle, then fold your sides in, getting your desired cone shape. I used clear double sided tape to tape down the folded underneath lip of the cone. I then stacked the three different sizes. Super Easy. The cute turq. damask paper is from Canvas Corp.
and here is a paper cone example (image found via Google) again like I explained above, you can get the three different sizes by using three different sized plates


WELL HELLO THERE!
Have fun creating some yourselves, and thanks for stopping by friends.
hugs, jen


I LOVE these! I wanted to make some last year but I didn’t do it 🙁 Now I have to though because these are tooo cute 🙂
http://designerinteal.blogspot.com
Love these – they’re different than the usual green-red combo that, frankly, I’m a bit sick of. Might be a project for some Christmas crafting soon! (Pinning it)
What a beautiful color to use for Christmas! I definitely can make these, and you have inspired me to do so!
Such a fun, easy craft! and I really love the picture with your reflection in the Christmas ornament… too cute!
I try to make some sort of new crafty little Christmas tree every year- love the damask one!
These are so cute. I love the colors you used. You could keep these out all winter! I’m having a giveaway today for a cute wristlet if you’re interested!
http://www.yellowcloth.com/2012/10/october-review-giveaway.html
Love the paper tree! It is my favorite. I love how you can make these match any decor.
Very cute! I love the colors!
Love Always,
Liz
I love these…especially the colors!
Thanks for sharing!!
Sally
So cute!!!Thanks so much for sharing the great tutorial!
Happy week!
Hugs from Portugal,
Ana Love Craft
http://www.lovecraft2012.blogspot.com
Love these! Especially the colors!
Beautiful. I’m loving the blue!
I just grab a large piece of card and make a cone by taping both sides together with tape.
Then I even out the bottom of the paper cone by cutting it to make it stand.
Then I wrap garland around the cone and tuck the ends under the tree bottom.
That’s all it takes to make a paper cone tree.
No fuss,