Top Stenciling Tips for the Bathroom
Hi my name is Sue Jason and I am a blogger at My-bathrooms blog I write to fulfil my passion for sharing ideas which include home improvement and decor.
Top Stenciling Tips for the Bathroom

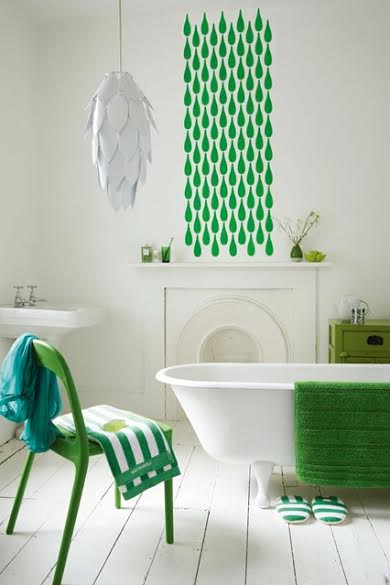
Image Via
Bathroom stencils are a great way to brighten up the house’s smallest room without spending a lot of money or wasting any precious space. Stenciling the walls yourself can seem like a daunting task, but once you know how to do it you will be amazed that you ever thought that it was difficult! As with most DIY projects, there are some hints and tips to follow in order to achieve the best results.
Preparation
Make sure that the walls are clean and dry before you start, even if this means that you have to delay starting the work by a day or two. Ask everyone to bath early the night before you plan to get to work, and leave a window open (weather permitting) to allow all the damp and condensation to dry up. The day before you start stenciling, wash down grubby walls with weak soapy water and bleach to remove any stains or dirt. It is best to stencil onto freshly painted walls as this will result in a clean, fresh-looking effect.
Stencil Choice
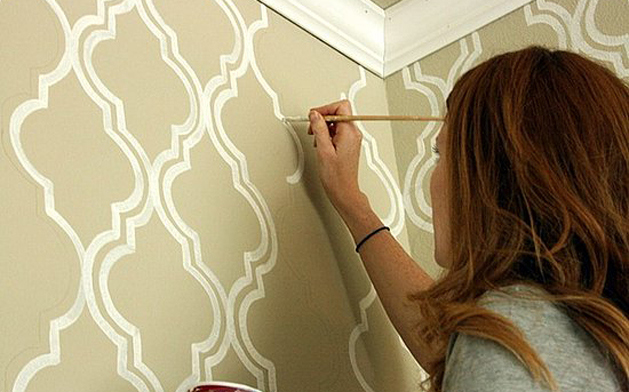
Image Via
Choose fairly large stencils unless you are an experienced stenciled and know what you will be getting into. Small stencils are very time consuming to put up and can easily appear overdone or scrappy if the placement is not precisely calculated. Larger stencils are easier to work with and the bathroom will need fewer repetitions than with smaller images.
Stock Up!
Make sure that you have enough paint to do the whole job. You do not want to run out of one particular shade and have to use a different one, as this can ruin the whole look of your bathroom. Invest in some good quality paintbrushes from Wickes, preferably with smoothly rounded edges to ensure a good crisp finish to each image. Masking tape will hold your stencil in place, and pulls away from the wall easily, without ruining the paintwork. Choose stencils that are made of flexible strong plastic as these can be washed often and will last much longer than cardboard products.
Measure Twice, Paint Once
To paraphrase the old carpenter’s saying, measure twice and paint once. This means that you should make sure that you check your stencil placement carefully before putting your brush to the wall. It is surprisingly easy to go off center without carefully penciled-in guidelines. Be sure that you have spaced out the images carefully before committing yourself!
Modest Amounts
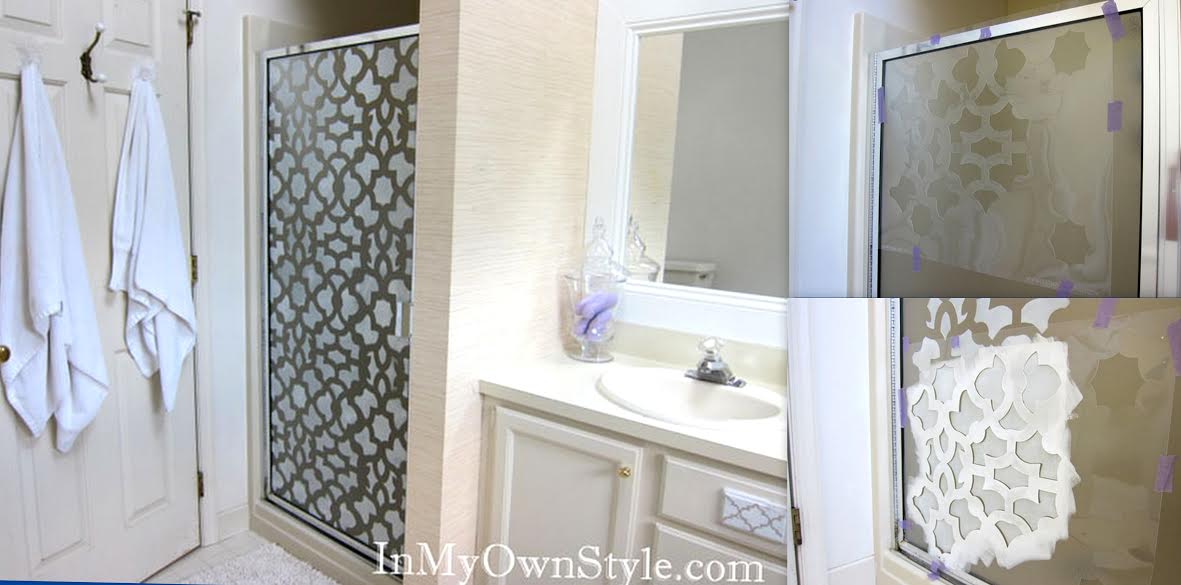
Image Via
Try not to put too much paint on the brush at any one time. Paint drips can run onto the wall or even into stencil and make an awful mess before you realize what is going on. Rather, just barely dip the end of your brush into the paint, and dab at the wall with these almost dry bristles, going over each area a couple of times if necessary.
Interior Areas
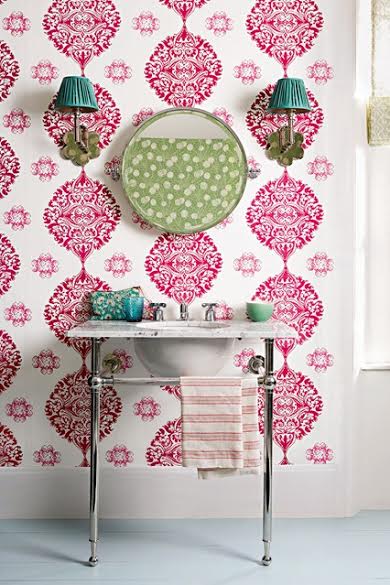
Image Via
You may purchase a glass shower screen enclosure or panel from My Bathrooms and apply a couple of images to these. They will help to continue and emphasize the bathroom theme, giving the décor a lovely polished air.
Work slowly and methodically until the stenciling is complete, and then leave the paint to dry, undisturbed for as long as possible or up to twelve hours.